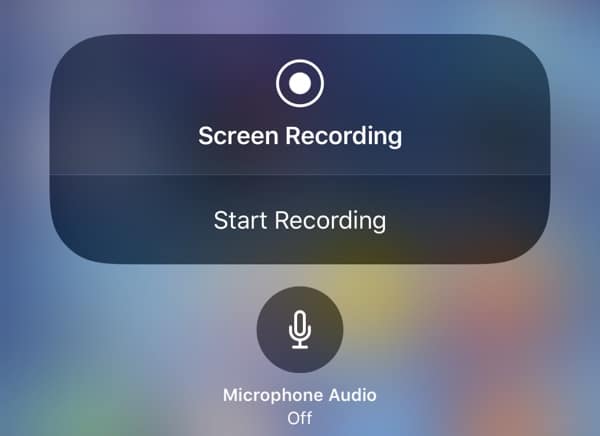
Today at 4 A.M (IST) I got a popup on my iPhone. iOS Screen Recording apps record every activity observed on the screen of your Android device and stores it as a video format. You can upload this video to any website or share it with your friends using social media sites such as WhatsApp, Messenger, etc. There are many apps which will work for the rooted Android devices but, there are very few apps which do not require root access to perform their function.
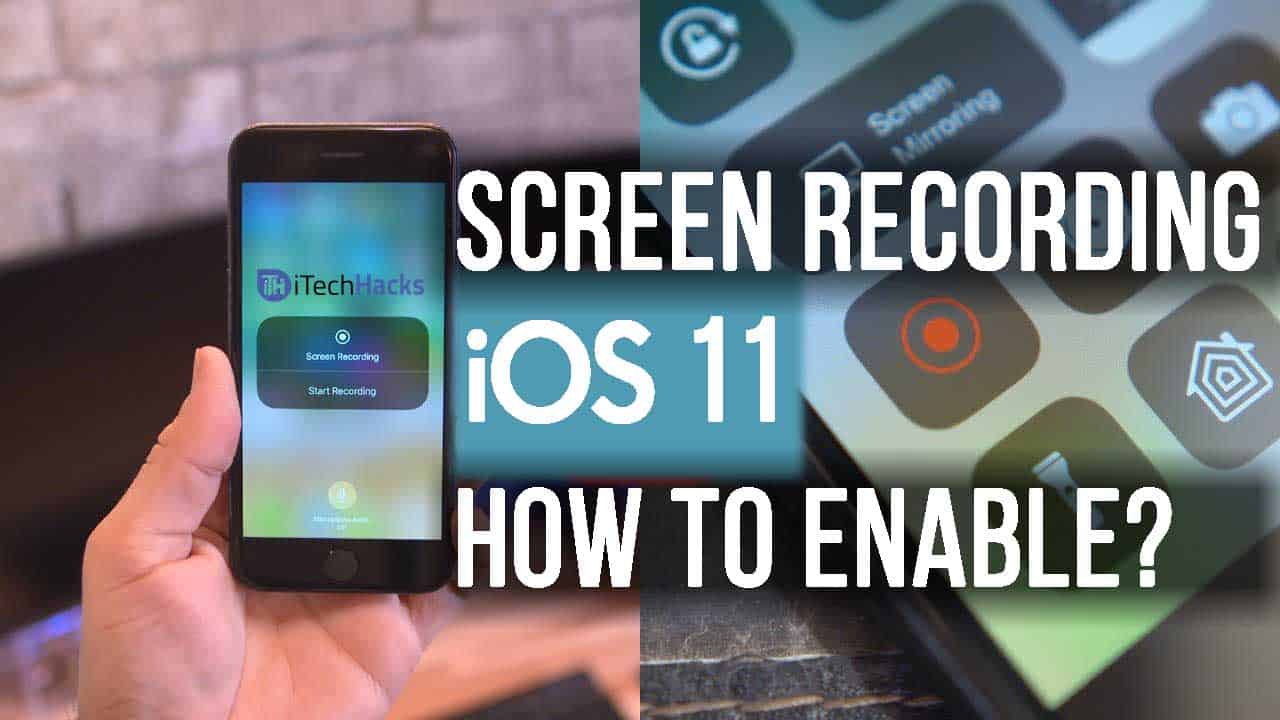
How To Enable Screen Recording in iOS 11
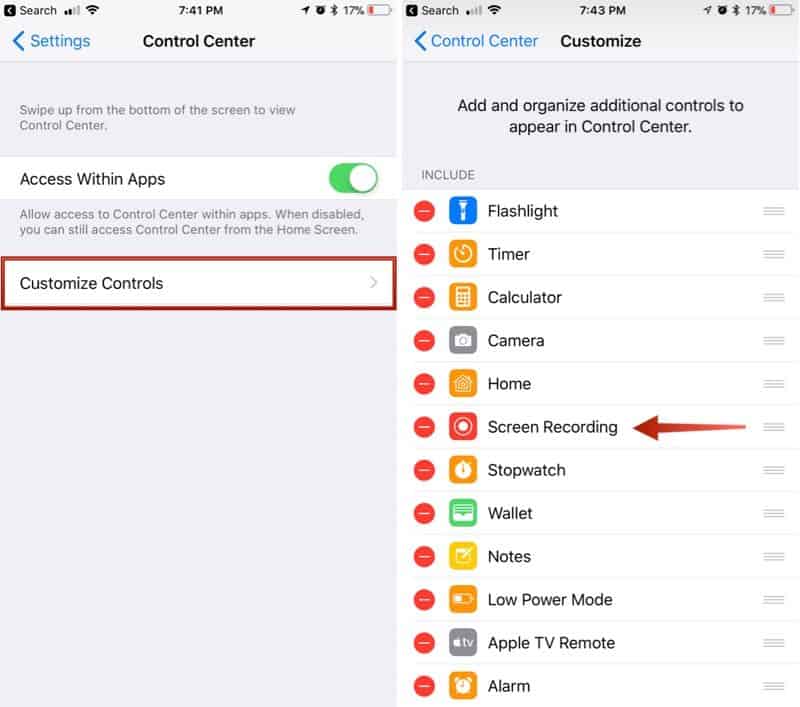
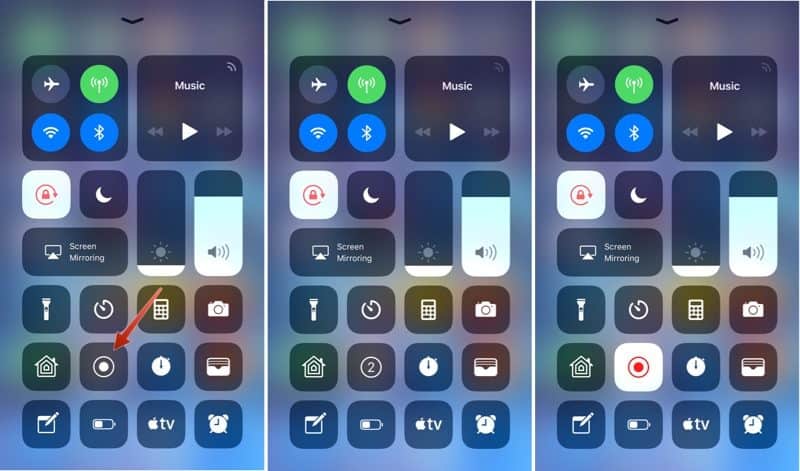
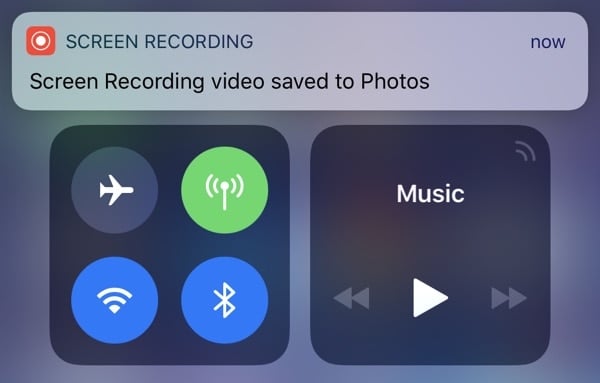
Step 1: Before getting started. I would let you know that The iOS 11 update is officially coming for iPhone 5s – iPhone X. So if you own an iPhone 5S then wait for few more days it will come on your iOS device too. Step 2: First, Open Settings > Control Center > Customize Controls. Step 3: Follow the screenshots for a quick start. Now, Tap the [+] button next to “Screen Recording” to add it to the “Include” section. Step 4: You have successfully Enable the Screen Recorder app on your iPhone. Step 5: Now Here you need to start the recording your screen activity Step 6: Open up the ‘Control Center’. Tap the icon for screen recording. It’s two nested circles. (Follow the Screenshots) Step 7: Hola! Your iPhone inbuilt Screen Recorder is Activated and Start Recording your Screen Play within 3,2,1 Start Countdown. Step 8: Now all if you need to Edit your recorded video then again Open Control Center and Tap on the “RED” Button to Stop and Finalize the video. Wrap up: So This all about “Screen Recording on iOS 11”. By this way, you can easily record your iPhone Screen: Gameplay, Video, Tutorial without installing any 3rd party screen recorder app on your 1st class iPhone. Feel free to ask any question over this topic. And Don’t forget to share it with your iOS user friends.
