So if you frequently face the “zsh: permission denied” error on your Mac’s terminal, don’t worry; in this article, we’ll explain how to fix it. This error occasionally occurs when you use your computer’s terminal or command prompt. It will be very simple to fix and will help to clarify why and how it occurs. Let’s begin.
Why Are You Receiving The “Permission Denied” Error In the Terminal?
The Zsh permission denied error on your Mac could be caused by various causes. Here are some of the most typical:
1 Why Are You Receiving The “Permission Denied” Error In the Terminal?1.1 The File Is Locked1.2 Incorrect chmod X or System Command1.3 The File’s Permissions Aren’t Sufficient2 Fix Zsh Permission Denied Error in Mac Terminal2.1 1. Check the File Permissions Using Terminal on Mac2.2 2. Give the Terminal Full Access to the Disk2.3 3. Use Sudo Commands2.4 4. Change the Ownership of the Directory2.5 5. Using CleanMyMac X to Reset the Terminal app2.5.1 Conclusion
The File Is Locked
The permission denied error is most likely to appear when installing a program or changing a locked file. You may not have administrator rights, or the file may have been locked by its creator using child security. The permission error is a sign that your command is trying to write to a directory that your user account does not own.
Incorrect chmod X or System Command
This error sometimes occurs when a user tries to use a useless system command. If you are having trouble starting a program, check to see if it is using the command of the program you are trying to start. Permission-denied errors could also occur from incorrectly entered commands.
The File’s Permissions Aren’t Sufficient
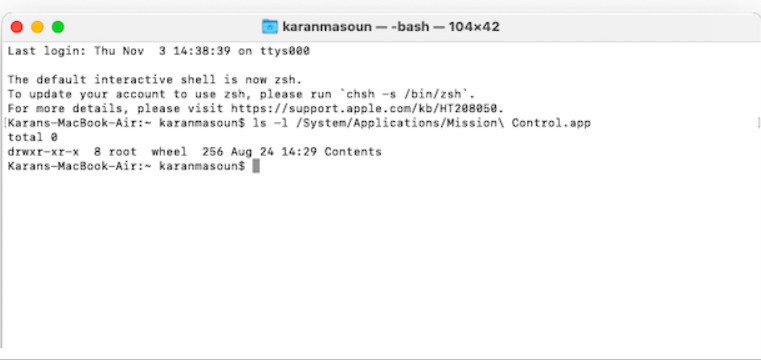
You can use the terminal to check your permissions if you’re trying to access or modify a file by typing the command ls -l file. ext. If you require administrator access, you can force that command with sudo.
Fix Zsh Permission Denied Error in Mac Terminal
1. Check the File Permissions Using Terminal on Mac
You could get the “permission denied” error if you don’t have permission to change the file. In that situation, it’s best to check the file permissions first. Checking file permissions can be done in two different ways: through a GUI or Mac Terminal. To do so, follow the steps below.
Open Utilities or the Mac Dock to launch Terminal.Type the command below and add a space after the final character, but don’t hit the Enter button.Drop the file you want to open into the Terminal window by dragging it there. By doing this, the location of the file will be automatically added to the command. However, the file won’t be moved.Click on the Terminal window, then press Enter.
This will demonstrate whether you are authorized to add to or edit the file.
2. Give the Terminal Full Access to the Disk
Another reason the macOS terminal’s permission is denied could be that the terminal does not fully access the disc. Unauthorized full disc access in terminal windows may also result in prohibited operation. Follow these guidelines to resolve this.
First, click the Apple logo in the top-left corner and choose System Preferences from the drop-down menu.Zsh Permission Denied ErrorSelect Privacy from the Privacy and Security menu.Now, click the padlock on the window’s lower left side and type your user password.Zsh Permission Denied ErrorUpon entering your admin password, a list with a ” Terminal ” checkbox appears.Zsh Permission Denied Error
The disc will have full access. Additionally, depending on the Mac update, some of you might need assistance finding Terminal in the list. You can search for Terminal by clicking the plus-shaped icon. For the changes to take effect, close the Terminal window.
3. Use Sudo Commands
The Sudo command is straightforward but strong enough to let you run almost any command from the Terminal. As a result, if you’ve encountered the Mac permission denied error, use sudo commands in Terminal. You can accomplish this by simply adding sudo before the original command. Here are some examples of commands:
4. Change the Ownership of the Directory
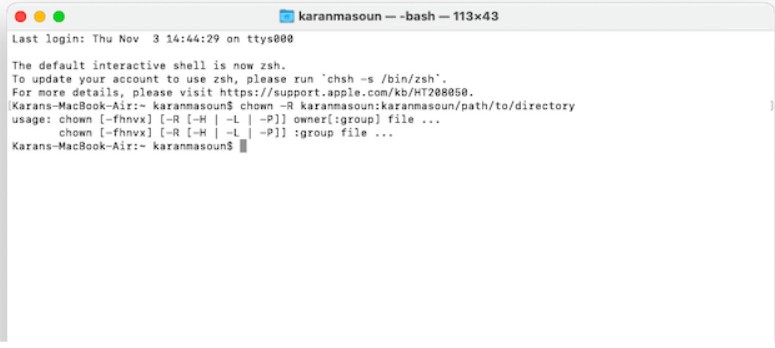
If none of the aforementioned fixes worked, try changing the ownership of the directory to your username. Change [username] to your username and [directorypath] to the path to the directory whose ownership you want to change in the steps below. Alternatively, you can simply drag the folder into the Terminal window. You can use the chown command to modify the directory’s ownership. Type the following command in Terminal, then hit the Enter key: You should replace $USER with the user who is currently logged in and /path/to/directory with the path to the location you want to write to.
5. Using CleanMyMac X to Reset the Terminal app
It’s possible that the Terminal itself is having issues, and that is why you are getting a “permission denied” error. Resetting the app is one solution for that. And using the helpful app CleanMyMac X is the simplest method for doing that. Several modules in CleanMyMac X can optimize your Mac, free up space, protect it from malware, and, most importantly in this situation, fix issues.
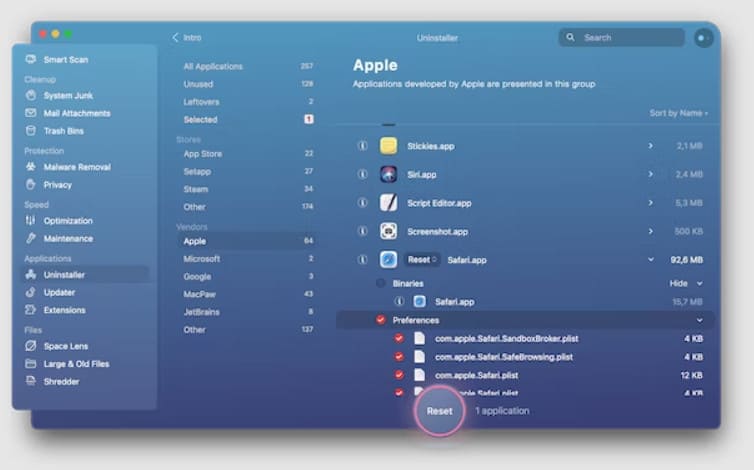
Open CleanMyMac X, then select Uninstaller from the sidebar on the left.To find Terminal, use the search bar.When the file size is opened, click the arrow.Now, check the circles next to the Preferences and Supporting Files.Select Reset by clicking on the arrows next to Terminal.Hit the Reset button.
Conclusion
The “permission denied” error in the terminal usually occurs because of issues with the file’s or directory’s permissions. Usually, you can resolve the issue by modifying the permissions or ownership. If that doesn’t work, try using CleanMyMac X to restart the Terminal app and check that your command formatting is correct. So you would have found the solution if you were trying to fix Zsh Permission Denied in Terminal on macOS Ventura or Monterey. We truly hope you found this article helpful. For the benefit of the other readers, if there is anything else you would like to add that we haven’t already covered, kindly do so in the comments section. We would be happy to assist you if you have questions about the guide. RELATED GUIDES:
How to Lower WindowServer CPU Usage on MacHow to Download Netflix Movies on MacBookHow To Factory Reset Your MacBook AirWhat is Alt Control Delete on Macbook? 5 Ways to Perform Control+Alt+DeleteFix ‘Sorry, No Manipulations With Clipboard Allowed’ on macOS
Δ