Fix Automatic Repair Loop in Windows 11
In this article, we will be discussing how you can fix the automatic repair loop in Windows 11.
1 Fix Automatic Repair Loop in Windows 111.1 Hard Reboot Your PC1.2 Rebuild BCD And Run Chkdsk1.3 Boot Into Safe Mode And Perform DISM1.4 Restore Windows Registry1.5 Disable Automatic Startup Repair1.6 Perform System Restore2 Reset Windows 11
Hard Reboot Your PC
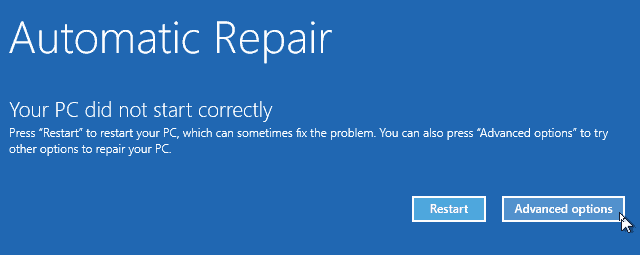
The very first thing that you should try doing is hard rebooting your PC. To hard reboot your PC, follow the steps given below-
Hold down the power button on your PC to shut down your PC. Wait for a few seconds for your system to shut down completely.Ensure there is no visible light on your system. If there is no visible light, then that means your system has been shut down.Remove the power cable, and then wait for a minute or two.After you are done waiting for a minute, plug in the power cable again.Now turn on your system, and this should fix the issue.
Rebuild BCD And Run Chkdsk
If you still face the issue, then you will have to rebuild the BCD and then run Chkdsk. Given below are the steps to rebuild BCD and then run Chkdsk-
In the Automatic Repair Screen, select Advanced Repair Options and then click on the Troubleshoot. After doing so, click on Advanced Options, and then click on Command Prompt.
In the Command Prompt window, execute the following command one by one to rebuild the BCD-bootrec.exe /rebuildbcdbootrec.exe /fixmbrbootrec.exe /fixboot
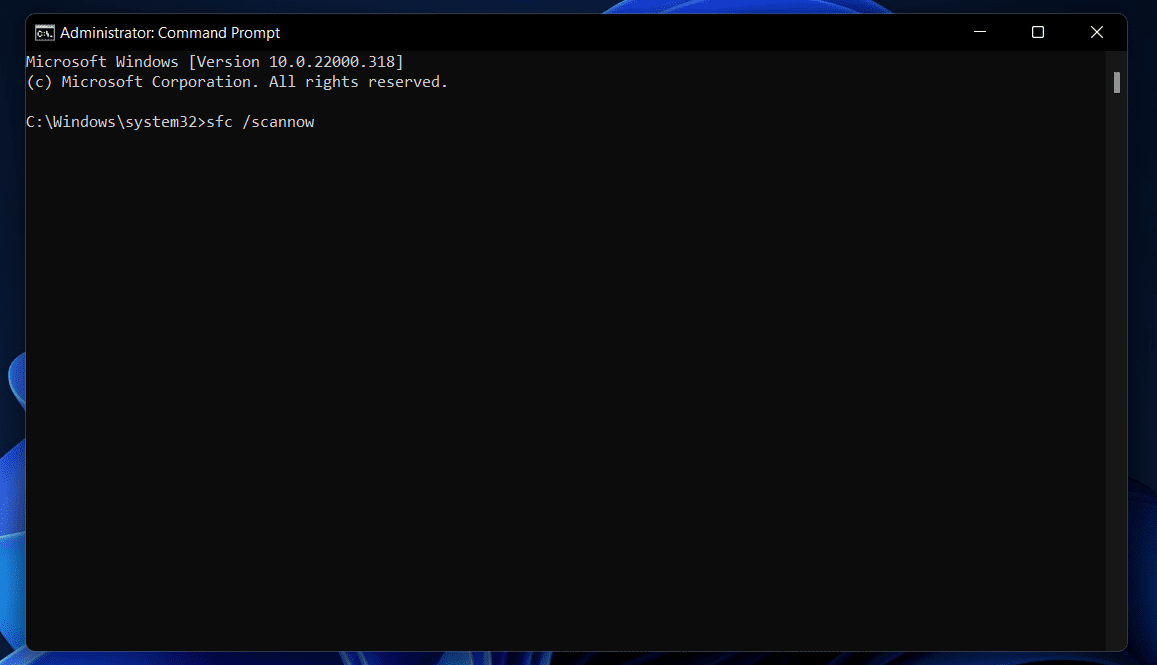
After doing so, you will have to run the SFC scan. This will check the issues in your PC due to corrupted files, and fix them. To run the SFC scan, type and execute the following command in the Command Prompt-sfc /scannow
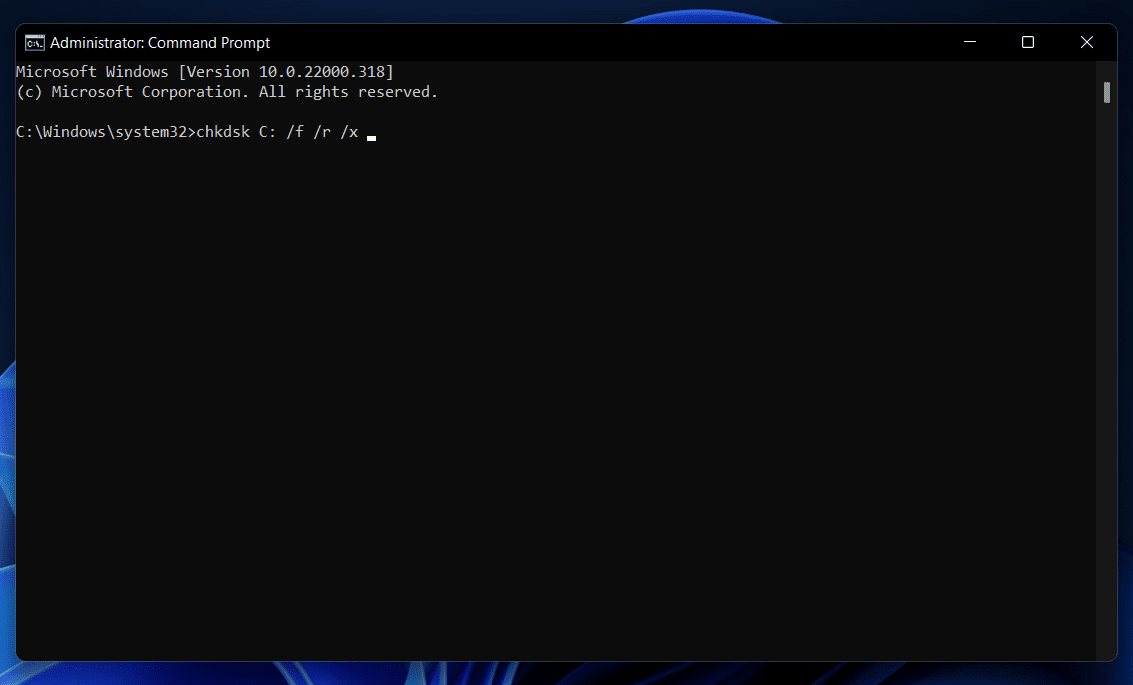
After doing so, run the chkdsk. To do so, follow the steps given below-chkdsk C: /f /r /x
This should fix the issue most probably. However, if the issue is not fixed, then you should move to the next troubleshooting step mentioned in this article.
Boot Into Safe Mode And Perform DISM
If rebuilding BCD and performing chksdk didn’t help you, then you can try performing DISM. DISM repairs the Windows image file and fixes the issue you face with it. To do so, follow the steps given below-
When you are on the Automatic Repair screen, click on Advanced Repair Options and then click on Troubleshoot.
Next, click on the Advanced Options, and then select Start Settings. Press the button which says Enable safe mode in networking. This will generally 5, so you will have to press 5 to enable safe mode in networking.After you are booted into the safe mode, run the Command Prompt as administrator. To do so, search for CMD in the Start Menu. Right-click on the Command Prompt and then click on Run as administrator. In the Command Prompt, type the following command DISM /Online /Cleanup-Image /RestoreHealth and hit Enter to execute it.
Wait for the process to complete, and then restart your PC.
Restore Windows Registry
If Windows Registry is corrupt, then it can also cause the issue. In this case, you will have to restore the Windows Registry. To restore Windows Registry, follow the steps given below-
In the Automatic Repair screen, click on Advanced Repair Options and then select the Troubleshoot option.In the Troubleshoot, click on the Advanced Options and then head to the Command Prompt. Now in the Command Prompt, type the following command copy c:\windows\system32\config\RegBack* c:\windows\system32\config\ and hit Enter.
When asked to overwrite the files, type All and then hit Enter. Doing so will restore the Windows Registry, and will fix the issue if it is caused due to it.
Disable Automatic Startup Repair
In the case of an automatic startup, the repair is enabled on your PC, then also you may get stuck in the automatic repair loop in Windows 11. You should try disabling automatic startup repair to fix the Automatic Repair Loop in Windows 11-
Firstly, restart your PC to head to the Automatic Repair Screen. Here, click on Advanced Repair Options, and then select Troubleshoot.
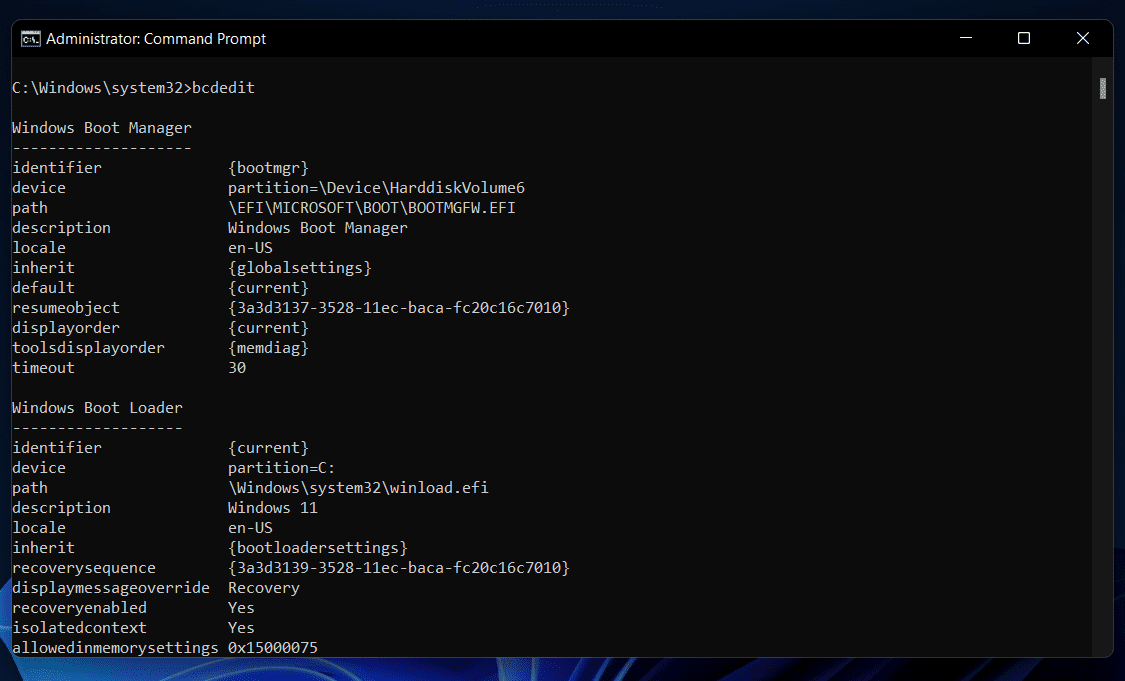
In the Troubleshoot, click on Advanced Options and then head to the Command Prompt. Now in the Command Prompt, type bcdedit and hit Enter.
Here, check whether the recoveryenabled value read yes or not. If it reads yes, then you will have to disable it. Continue ahead with the process if the value reads yes.In the Command Prompt, type the command bcdedit /set {default} recoveryenabled no and execute it.If the above command doesn’t work, then try executing the following command bcdedit /set {current} recoveryenabled no
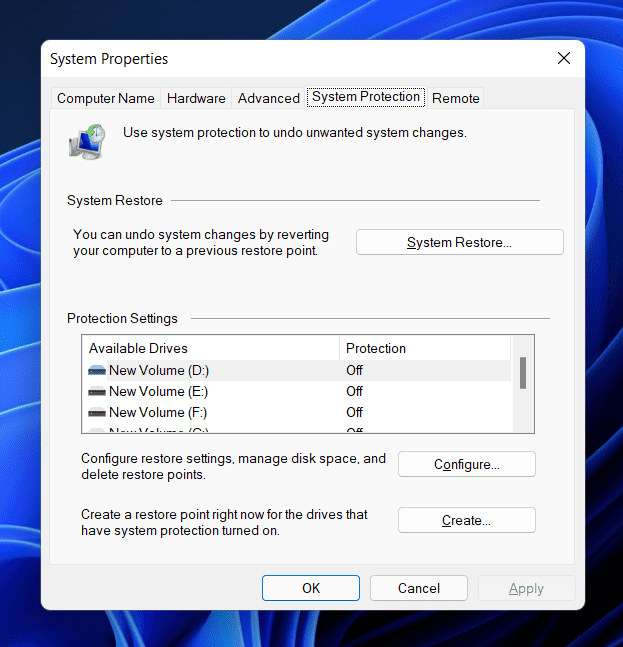
Perform System Restore
If you started facing this problem recently, then you can revert your system to the point when it was working fine. However, to continue with this method, you will have to ensure you have created a restore point earlier. To perform a system restore, follow the steps given below-
Click on the Advanced Repair Options in the Automatic Repair Screen.
After doing so, click on Troubleshoot and then click on Advanced Options. In the Advanced Options, click on System Restore.
You will be asked to select the restore point. Select your restore point, and then click on Next. Now, follow the on-screen instructions to restore your system.
Reset Windows 11
The last resort will be to reset the Windows. This is the last option that you should go for if any of the above methods didn’t help you.
In the Automatic Repair screen, click on Advanced Options and then click on Troubleshoot. In the Troubleshoot option, click on Reset this PC. Here, click on Remove Everything to reset the PC.
If you prefer clean installing the Windows, you can do that as well. RELATED GUIDES:
How to Create Task Using Windows 11 Task SchedulerHow To Fix Touchscreen Not Working in Windows 11How To Fix Mobile Hotspot Not Working In Windows 11
These were all the methods to help you fix the Automatic Repair loop in Windows 11. Following the above steps, you will be able to fix the issue of the automatic repair loop in Windows 11.
Δ